Getting started
Getting started with the Adobe integration is really easy, just follow this guide and you will be up and running in no time.
1. Signup to ftrack (only for new users)
If you haven’t already got an ftrack account you can sign up for a 30 day free trial at our Sign up page.
2. Connect
Download and install ftrack Connect for your platform at Connect download page.
Open Connect and sign in with your company’s ftrack URL, e.g. <company-url>.ftrackapp.com.
Warning
Storage scenario setup is required for the integration to work properly.
If this is the first time you use ftrack and Connect you will be asked to configure a Storage scenario to let ftrack now how to publish your files. See how to configure storage scenario for more information.
Adobe launchers should show up after the login procedure, from here you’ll be able to pick the version to start.

3. Adobe extension
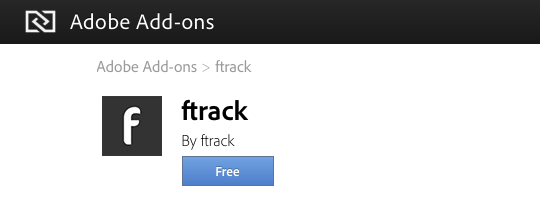
Install the extension from Adobe Add-ons by searching for ftrack or navigating to the ftrack extension and pressing the Free button to install.

See also
You can also install the extension manually using ZXP installer: Manual installation.
Start an Adobe CC application and click . This will open the ftrack panel. If Connect is running you should now be automatically connected to ftrack.
And that’s it!